Iron-A-Way
EAC24S+ SAFETY PLUS CABINET
EAC24S+ SAFETY PLUS CABINET
SKU:EAC24S+FW
Couldn't load pickup availability
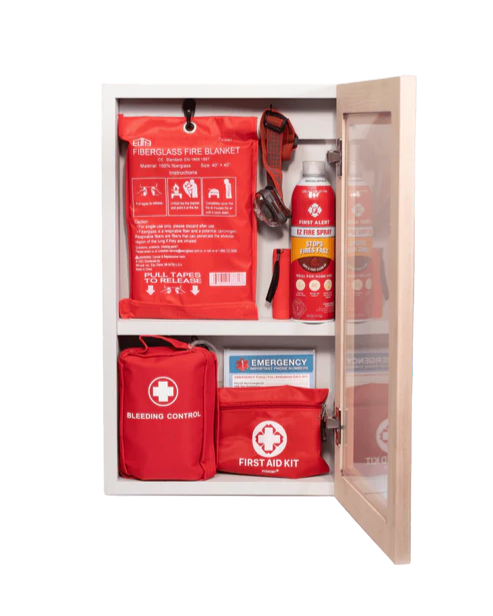
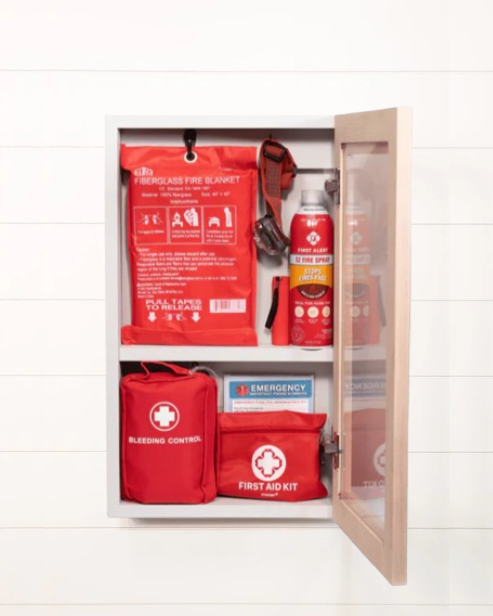
The EAC24 Safety Plus is engineered for comprehensive emergency response, addressing both basic and advanced scenarios. This kit expands upon standard first aid with a dedicated bleed control kit, containing all necessary supplies for managing severe wounds until professional medical assistance arrives. A headlamp provides critical illumination for patient care in low-light conditions and serves as an essential tool during power outages. For fire emergencies, the included fire blanket and spray are strategically positioned for immediate access. The Safety Plus is an indispensable addition to any home, garage, or workshop, ensuring preparedness for a wide range of emergencies.
WHAT'S INCLUDED?
- Fire Blanket
- Fire Spray
- Flashlight
- Head Lamp
- Emergency contact
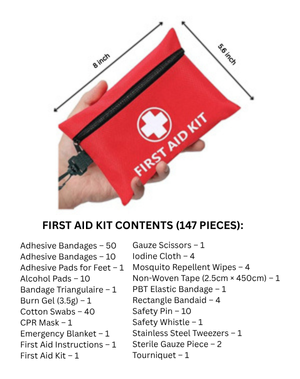
- First Aid Kit
SPECIFICATIONS
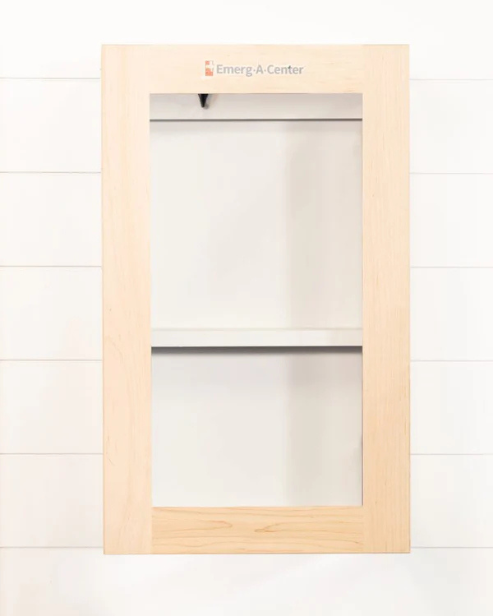
- External Dimensions: 24″ x 14 ½″ x 3 ¾″ (with Door)
- Internal Dimensions: 23 ⅜" x 12 ⅞" x 2 ¾"
- Space Above Shelf: 12"
- Space Below Shelf: 8 ⅝"
- Weight: 14lbs
INSTALLATION INSTRUCTIONS
Surface Mounting:
1. Locate a Wall Stud: Center the cabinet on a wall stud if possible for maximum stability.
2. Pre-Drill Holes: Use a ⅛” drill bit to pre-drill two installation holes:
-
-
- One through the center of the top cleat
- One through the center of the lower part of the cabinet
-
3. Secure with Screws: Install screws through the cabinet and into the wall stud.
4. If No Stud is Available: Use drywall anchors to secure the cabinet to the wall.
Recess Mounting (Between Wall Studs):
1. Cut Opening: Cut a space in the drywall measuring 24” x 14 ½”.
2. Position Cabinet: Place the cabinet into the opening between wall studs.
3. Secure with Screws: Pre-drill pilot holes through the inside of the cabinet at your desired mounting locations. Install screws into the wall studs on each side.
Share
